
Starting video editing in Adobe Premiere Pro may feel confusing at first, but once you understand the basics like importing files, sequence settings, ratios, resolutions, and important panels, everything becomes much easier. In this guide, I will explain these concepts in a simple and beginner-friendly way so you can start editing without confusion.
🖥️ Premiere Pro Interface Overview
When you Open Premiere Pro, you will see different panels like Project Panel, Source Monitor, Timeline, and Program Monitor. At first, it may look complex, but each panel has a specific purpose. Once you understand how these panels work, editing becomes simple and smooth.
📂 Importing Files & Project Panel
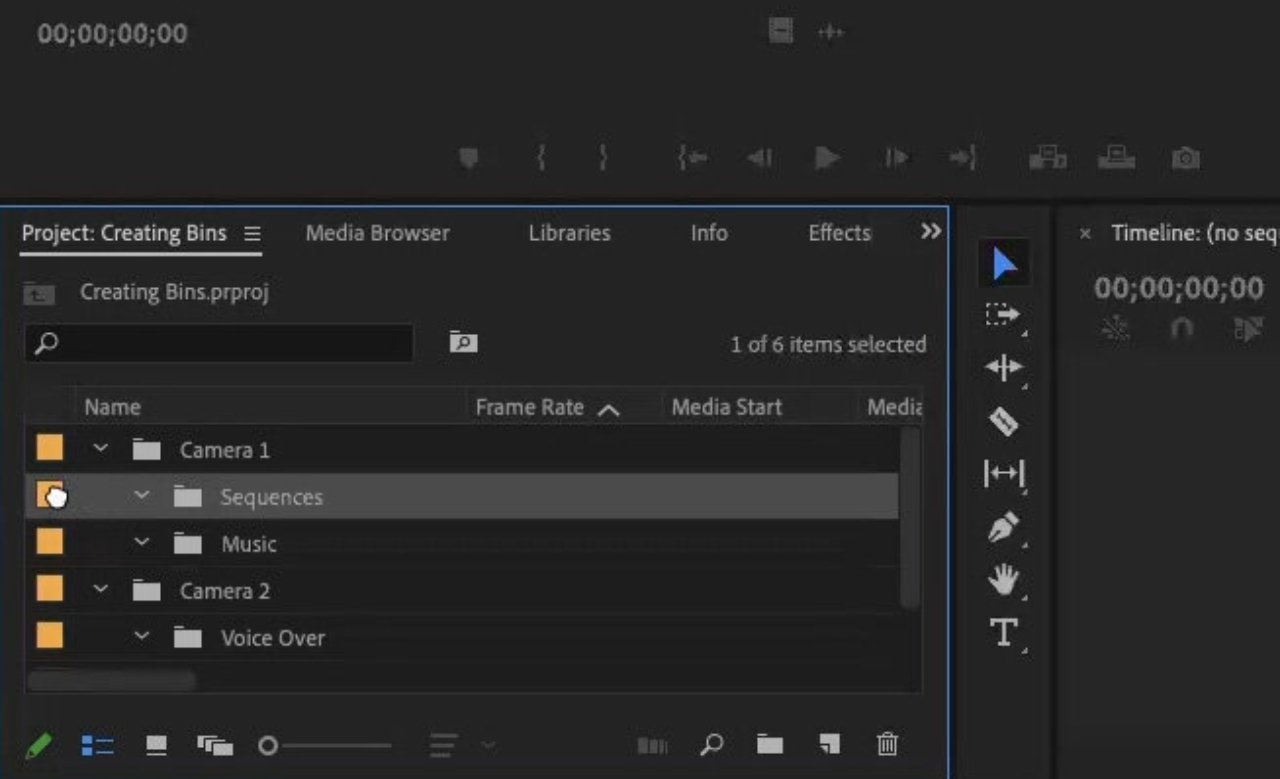
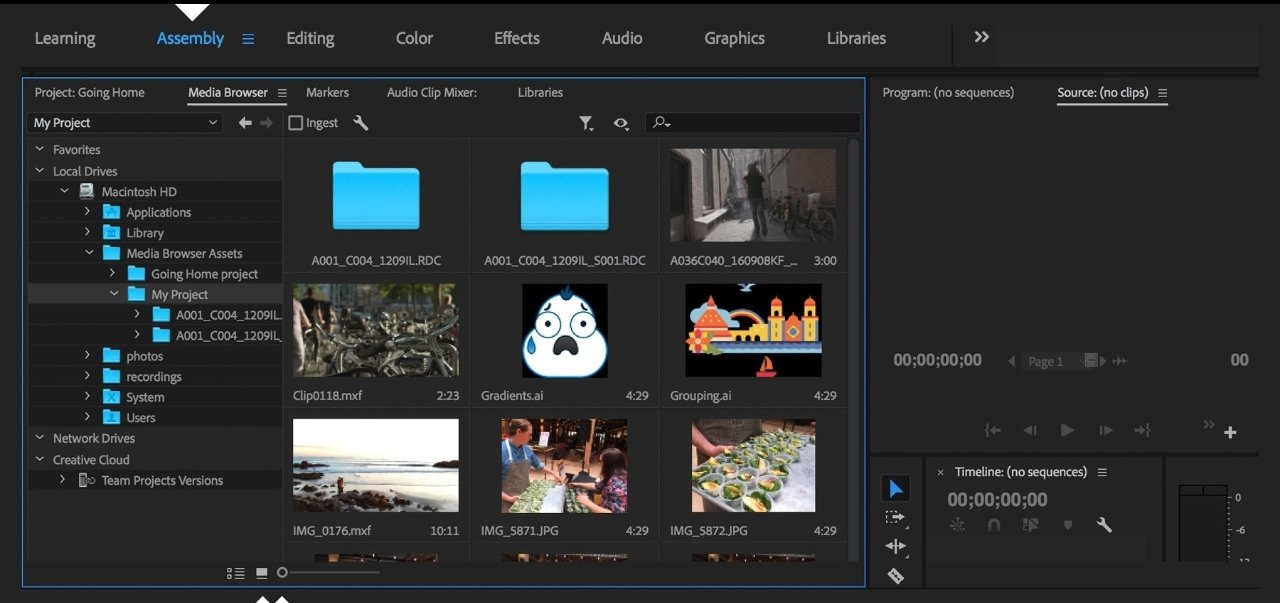
The first step in editing is importing your media files. These can be videos, audio, or images. You can import files by double-clicking inside the Project Panel or using the import option. The Project Panel is the main storage area where all your files are saved and organized. You can also create folders to manage files properly, which is very helpful when working on large projects. This panel is very important because without importing files, you cannot start editing.
⚙️ Sequence Settings

After importing files, the next step is creating a sequence. Sequence settings control how your final video will look. This includes resolution, frame rate, and aspect ratio. When you drag a video into the timeline, Premiere Pro automatically creates a sequence that matches your video settings. This is helpful for beginners. You can also manually adjust these settings based on your needs.
📱 Ratios & Video Resolutions
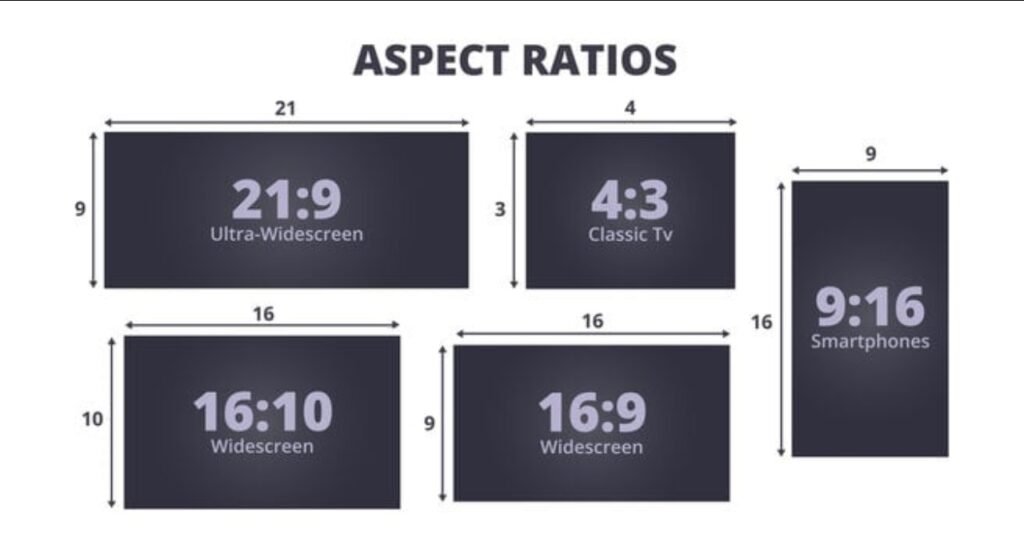
Understanding ratios and resolutions is very important. Aspect ratio defines the shape of your video, such as 16:9 for YouTube or 9:16 for Instagram reels. Resolution defines the video quality, like 720p, 1080p, or 4K. Higher resolution gives better quality but requires more system performance. Beginners should start with 1080p for smooth editing.
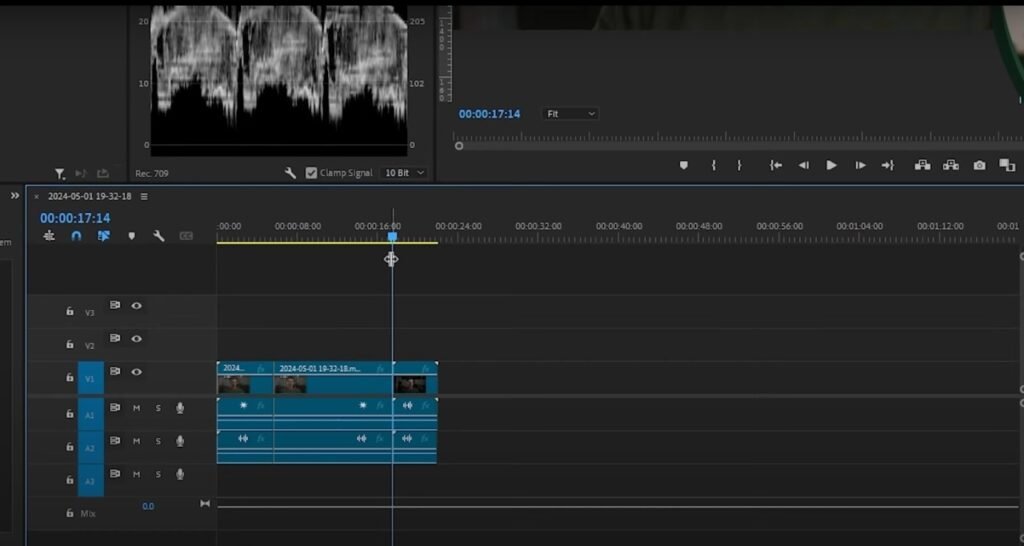
🎬 Source Monitor & Its Uses
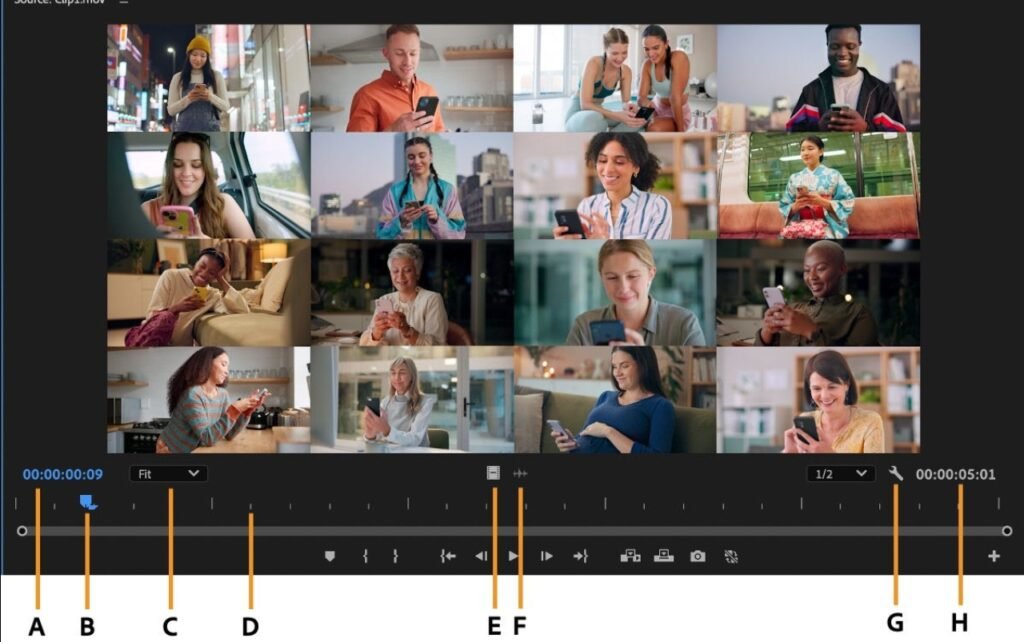
The Source Monitor is used to preview and edit clips before adding them to the timeline. You can double-click a clip in the Project Panel to open it in the Source Monitor. From here, you can trim the video, mute audio, or select only the required part. This helps save time and keeps your timeline clean. It gives you better control compared to directly adding clips to the timeline.
✅ Final Thoughts
Learning these basics will make your editing journey much easier. At first, it may feel confusing, but with practice, everything becomes simple. Focus on understanding importing, sequence settings, ratios, and panels step by step. Once your basics are strong, you can move to advanced editing like effects, transitions, and color grading. Premiere Pro is a powerful tool, and with the right foundation, you can create professional videos easily. Thank you for visiting our site next post I’ll explain about How to work in timelines, Explained Every tool and their uses Keyboard Shortcuts, How to set custom keyboard shortcuts to edit 10X Faster