
In this article, I will explain how to use Adobe Premiere Pro step by step in a simple and beginner-friendly way. This guide is designed for new learners who want to start video editing but feel confused when opening professional software for the first time. If you are completely new to Premiere Pro, do not worry. By the end of this article, you will clearly understand the basic workflow and how to get started without stress. This tutorial is part of a learning series where each topic is explained practically to help beginners build confidence step by step.
First, you need to install the Adobe Premiere Pro application on your PC or laptop. This software is officially available on the Adobe website, so it is safe and reliable to download from there. If you are not ready to purchase the premium version, there is no problem because Adobe also provides a free trial option. This allows beginners to explore the software without any payment.
You can use the free trial to learn, practice, and understand how video editing works in real projects. Once you feel comfortable using Premiere Pro and understand its features, you can decide whether to upgrade to the premium version later. After installing the application successfully, open Adobe Premiere Pro to begin your editing journey.
When you launch the software for the first time, you will see a clean and professional interface created specifically for video editing. At first glance, the interface may look complicated, especially for beginners, but this is completely normal. There is no need to feel overwhelmed. In this tutorial, each section of the interface will be explained in a simple and easy way so that you can understand what every panel does and how it helps in editing.
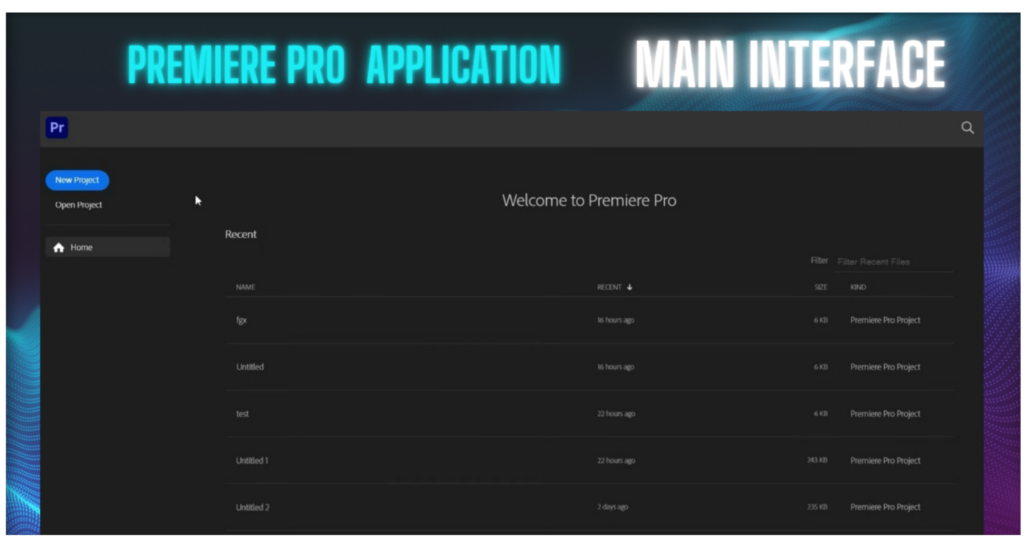
On the welcome screen, you will see options such as New Project and Open Project. If you want to start editing a fresh video from scratch, you should select the New Project option. If you already worked on a project earlier and want to continue editing it, choose the Open Project option. Selecting the correct option is important because choosing the wrong one may confuse beginners and make them think their files are missing. In the next sections, you will learn how to use these options correctly based on your editing needs.
Now you need to change some basic settings in Adobe Premiere Pro. Follow the instructions below and select the options as shown in the image.
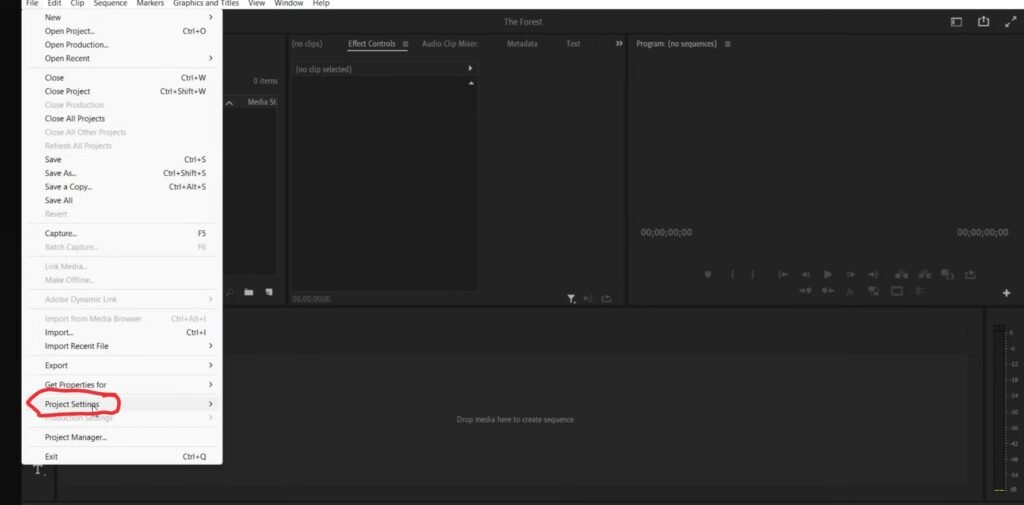
Click on Project Settings. You will see three options:
General, Scratch Disks, and Ingest Settings.
Select the first option, General. After selecting it, you will see the interface shown below. I have provided that interface on the next page.
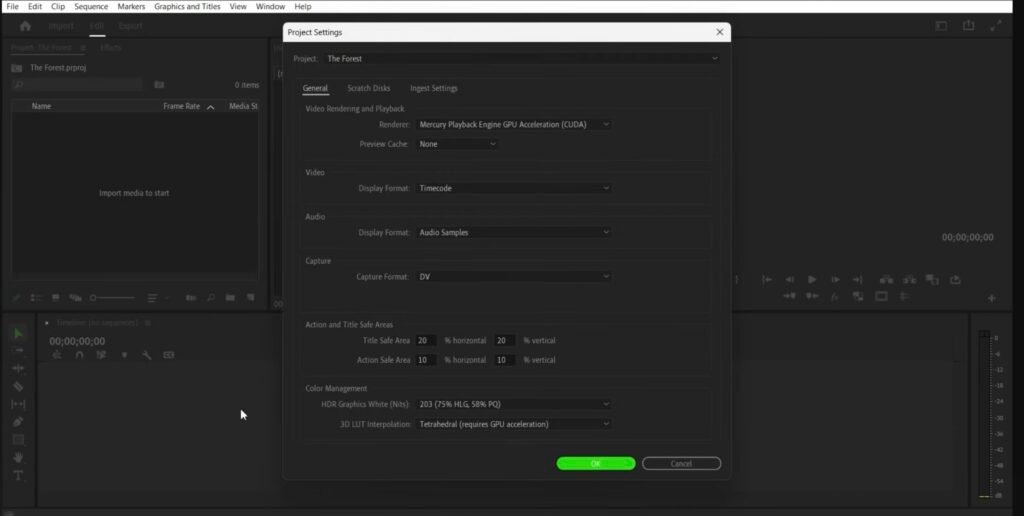
First, you will see the first option called Renderer. Select it, and you will find three options available.
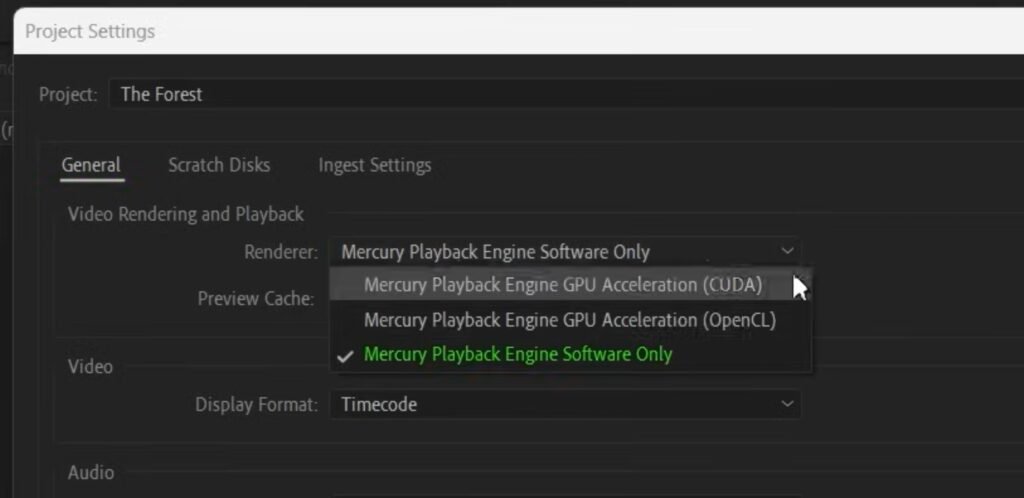
If your system has a graphics card, you need to select the CUDA option. This option should be selected only if your laptop or PC has an external graphics card.
If your system does not have a graphics card, there is no issue and no need to worry. Simply select Mercury Playback Engine Software Only. If you do not have a graphics card, you will see only this option, and you will not see all three options.
This is completely fine for learning purposes. Even without a graphics card, you can run Premiere Pro smoothly. After you become a professional editor, you can purchase an external graphics card or upgrade to a better PC or laptop.
Now, go back to the home interface
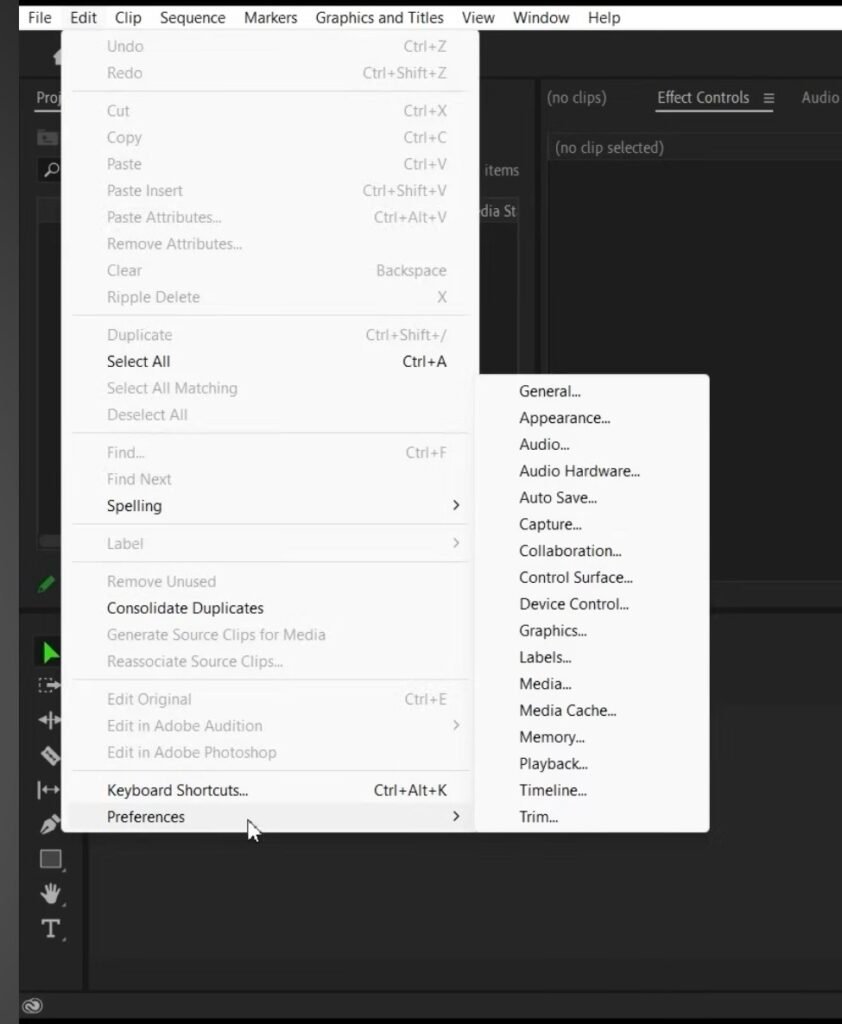
Click on Edit, open it, and select the last option, Preferences. After that, you will see some settings on the right side.
Here, you need to select the Auto Save option. Now I will explain why this option is important.
If your PC suddenly powers off or if Premiere Pro crashes unexpectedly, your project may be lost, and you may not be able to recover the edited work. When you enable Auto Save, your project will be saved automatically every 5 minutes.
This helps protect your work and prevents you from losing your project.
You also need to select another option called Media Cache. This option is available in the same Auto Save section..
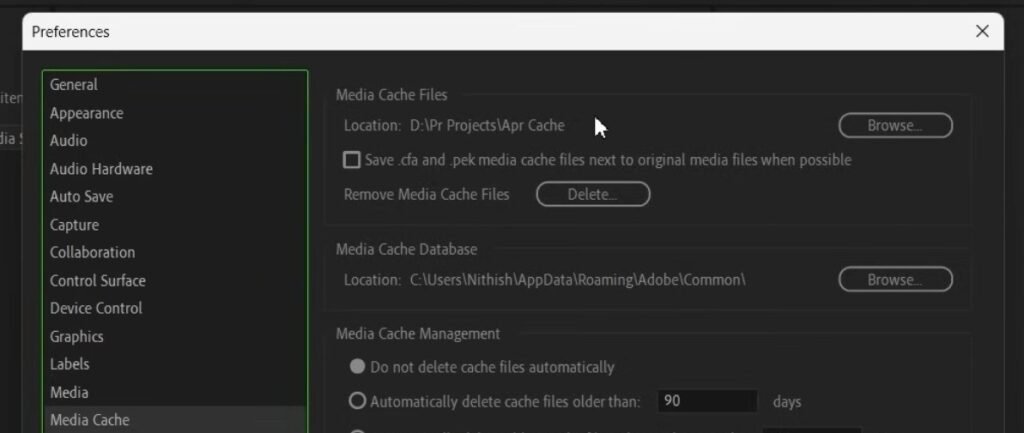
Here, you need to select the Media Cache File Location, Now I will explain why this step is important.
Premiere Pro sometimes creates cache files, and if they are not cleared or managed properly, they can affect editing performance. Your system may start lagging, crashing, or Premiere Pro may not run smoothly.
To avoid this, you should select a folder that has enough free storage space. This helps Premiere Pro run smoothly and improves editing performance.
For now, to avoid confusion, I will create a new workspace. Please follow these settings carefully, as they are very useful and easy to understand.
To do this, select the Workspace option. I have provided the image below showing where this option is available.
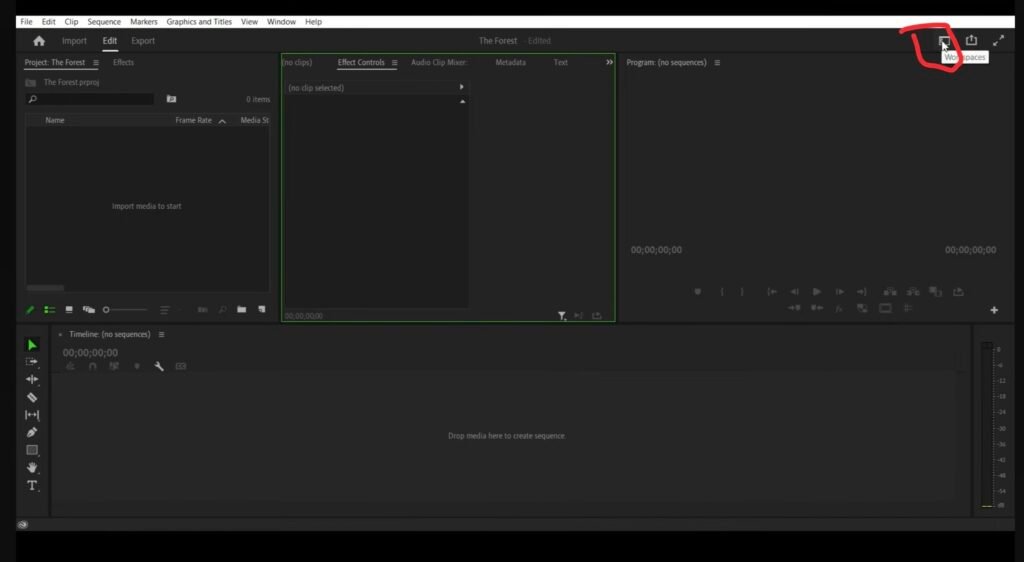
After selecting it, you will see many settings. Please listen carefully and don’t get confused.
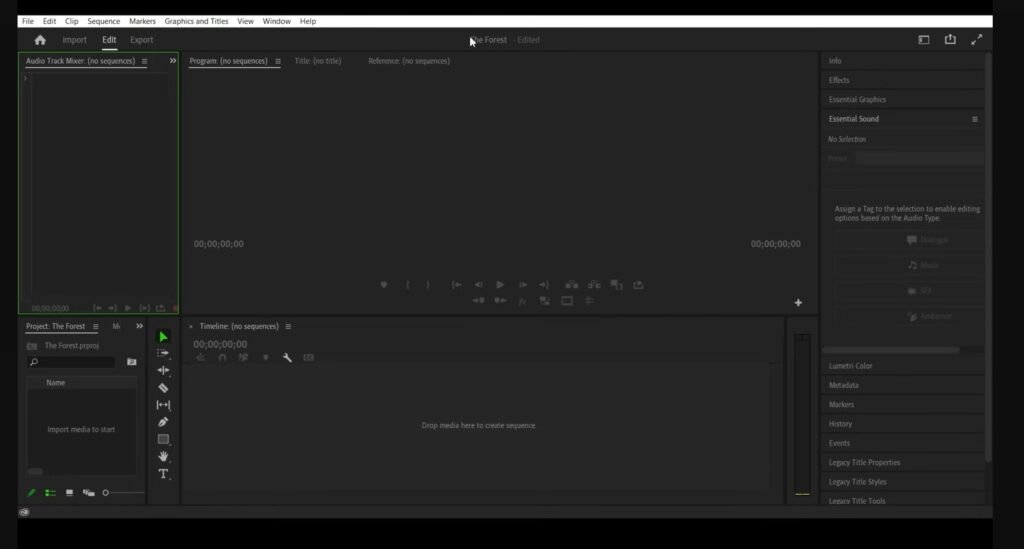
Just select the All Panels option. This will show all project panels on the home interface.
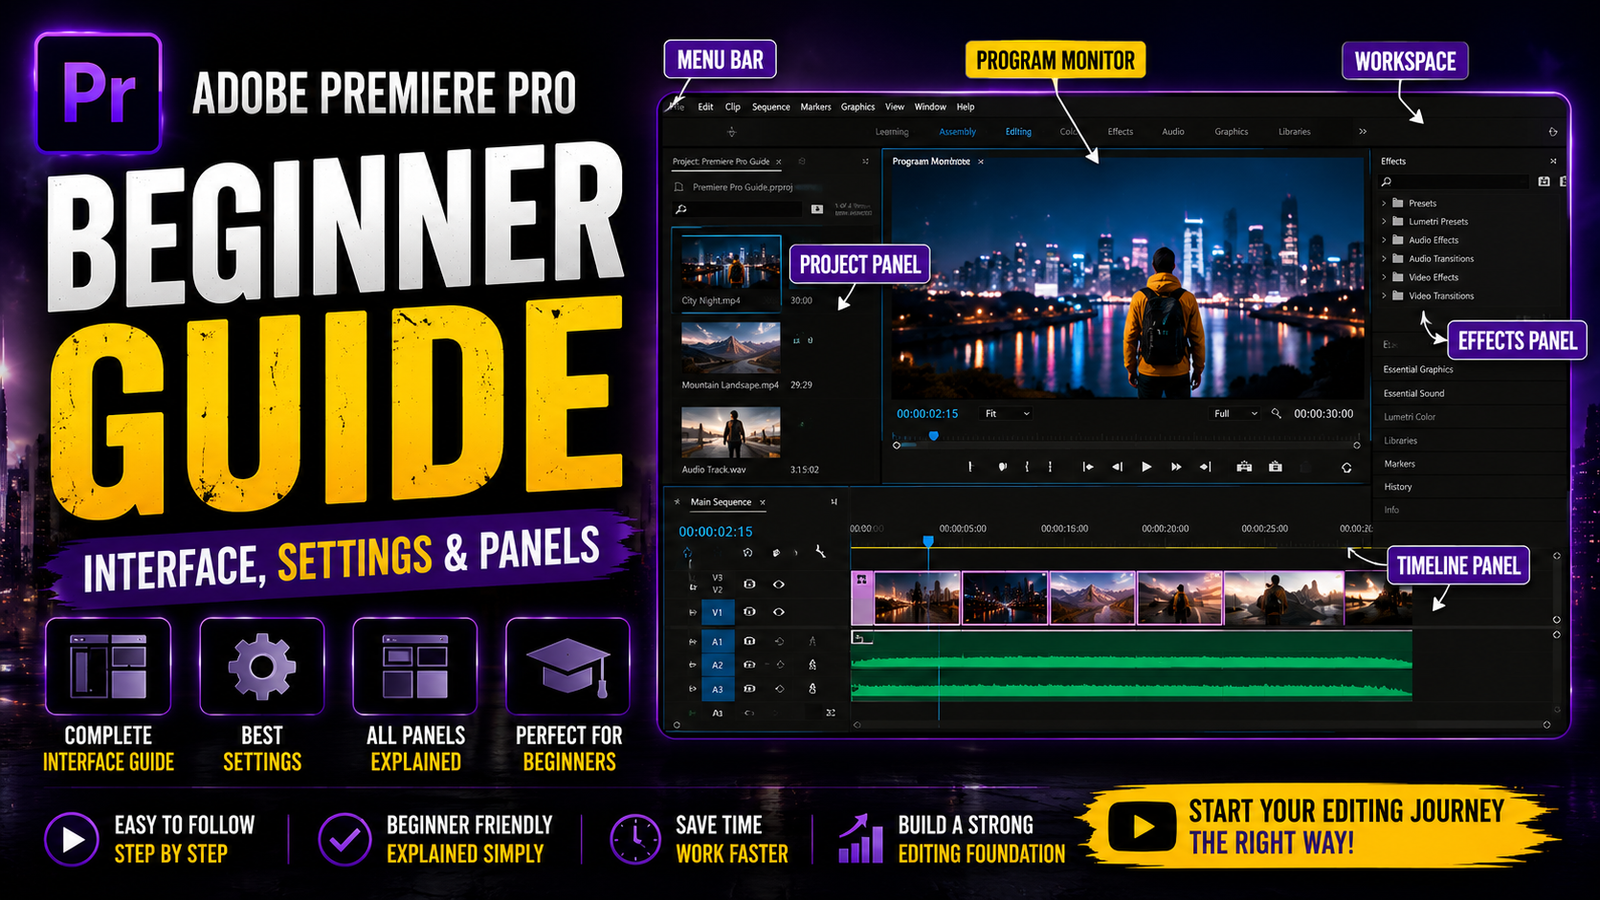
Now I will explain the panels and their uses in the All Panels main interface.
1. Project Panel
The first important panel is the Project Panel. You can double-click on it to open it, or you can use the shortcut key Shift + 1.
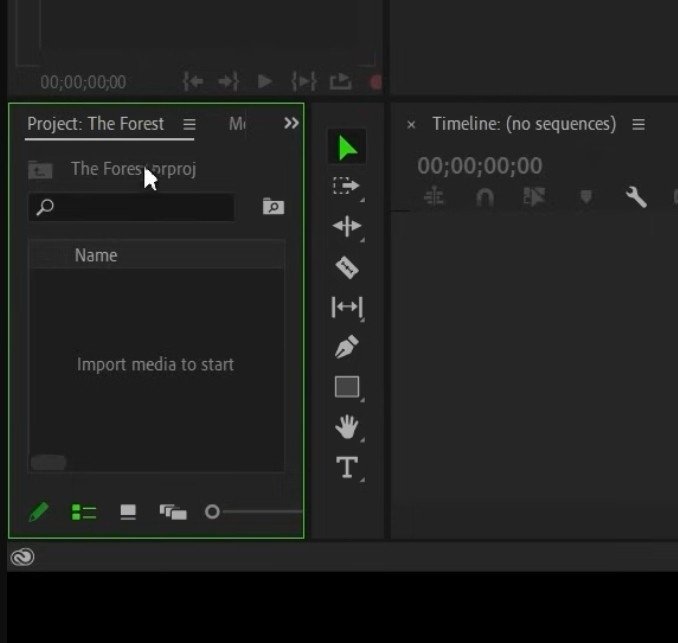
Uses: This is the main panel for video editing. If you want to add songs, videos, images, or any other media, this is the panel you will use.
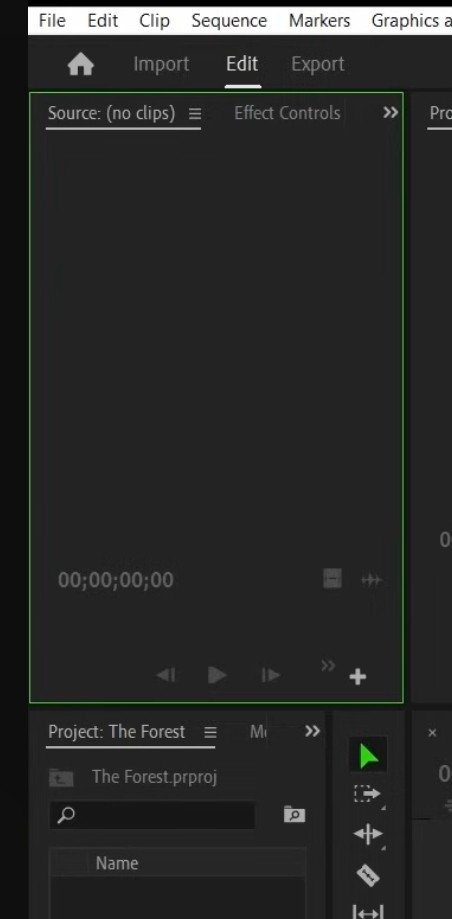
2. Source Panel
The next one is the Source Monitor. The shortcut key is Shift + 2.
Uses of the Source Panel:
When you import video files, audio, or images into the Project Panel, some software allows you to drag files directly into the timeline. Premiere Pro works a little differently.
Here, you have two options. The first option is to import clips directly from the Project Panel to the timeline. The second option is to use the Source Panel.
When you are editing and want to work on a specific clip, simply double-click the video in the Project Panel. That clip will open in the Source Panel. From here, you can mute the audio, trim the video, or choose to import only video or only audio for your main editing work.
In the next steps, I will explain these options clearly and in detail.
3. Time line Panel
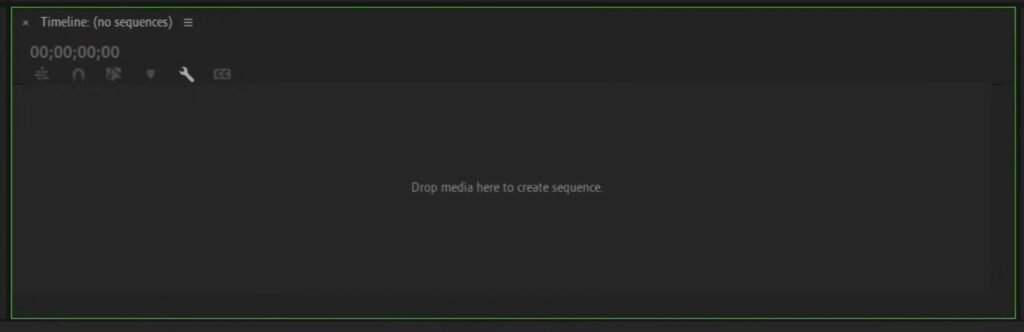
For this panel, the shortcut key is Shift + 3.
Uses of this panel :-
This is the main panel for video editing. Videos, photos, audio, songs—everything is edited here. I will explain this panel in detail in the next steps.
4.Program Monitor
The shortcut key is Shift + 4.
Uses of the Source Monitor: This panel is used to preview and trim clips before adding them to the timeline.
5. Control Panel
The shortcut key is Shift + 5.
First, press Shift + 6. This will open the Effect Controls panel.
If you want to add text animations or transitions, this panel is used. I will explain everything about the Effect Controls panel in detail in the next part.
Now click the Shift + 5.
Here, if you add any effect to your video and want to edit that effect, the Effect Controls panel will be useful.
For example, if you add a blur effect to a video and want to increase or decrease the blur strength, you can do it from this control panel.
I hope you are understanding this—no issues, no panic, and no need to worry. I will explain everything clearly step by step
6. Lumetri Color
Uses of this panel: If you want to do color grading or color correction, this panel will be useful
7. Essential Graphics :-
Here, you can import subscribe templates, outros, and other templates for your videos
In the next articles, I will explain this feature clearly. During editing, if you add text and want to edit that text, you can use the Essential Graphics panel. In this panel, you will see the second option, Edit. Using this feature, you can easily modify your text.
8. Essential Sounds :-
Essential Sound is used to improve and manage audio in Premiere Pro.
In this panel, you can choose what type of sound you are using, such as Dialogue (voice), Music, Sound Effects, or Ambience. After selecting the audio type, Premiere Pro automatically gives you basic settings to make the sound clearer and better.
For example, if you select Dialogue, you can
increase voice clarity, reduce noise, and make the sound smoother. If you select Music, you can control volume, fade in, and fade out easily.
This panel is very helpful for beginners because you don’t need advanced audio knowledge. You can improve audio quality with just a few clicks.
In this article :- I explained the following topics:
1. Interface
2. Main Settings
3. Important Panels
In the next articles :- I will explain more about:
3. Workspaces and their uses
4.Folder structure and importing
5.Sequence settings & Ratios and video resolutions
Thank you for visiting our website & hope i explained everything clearly