
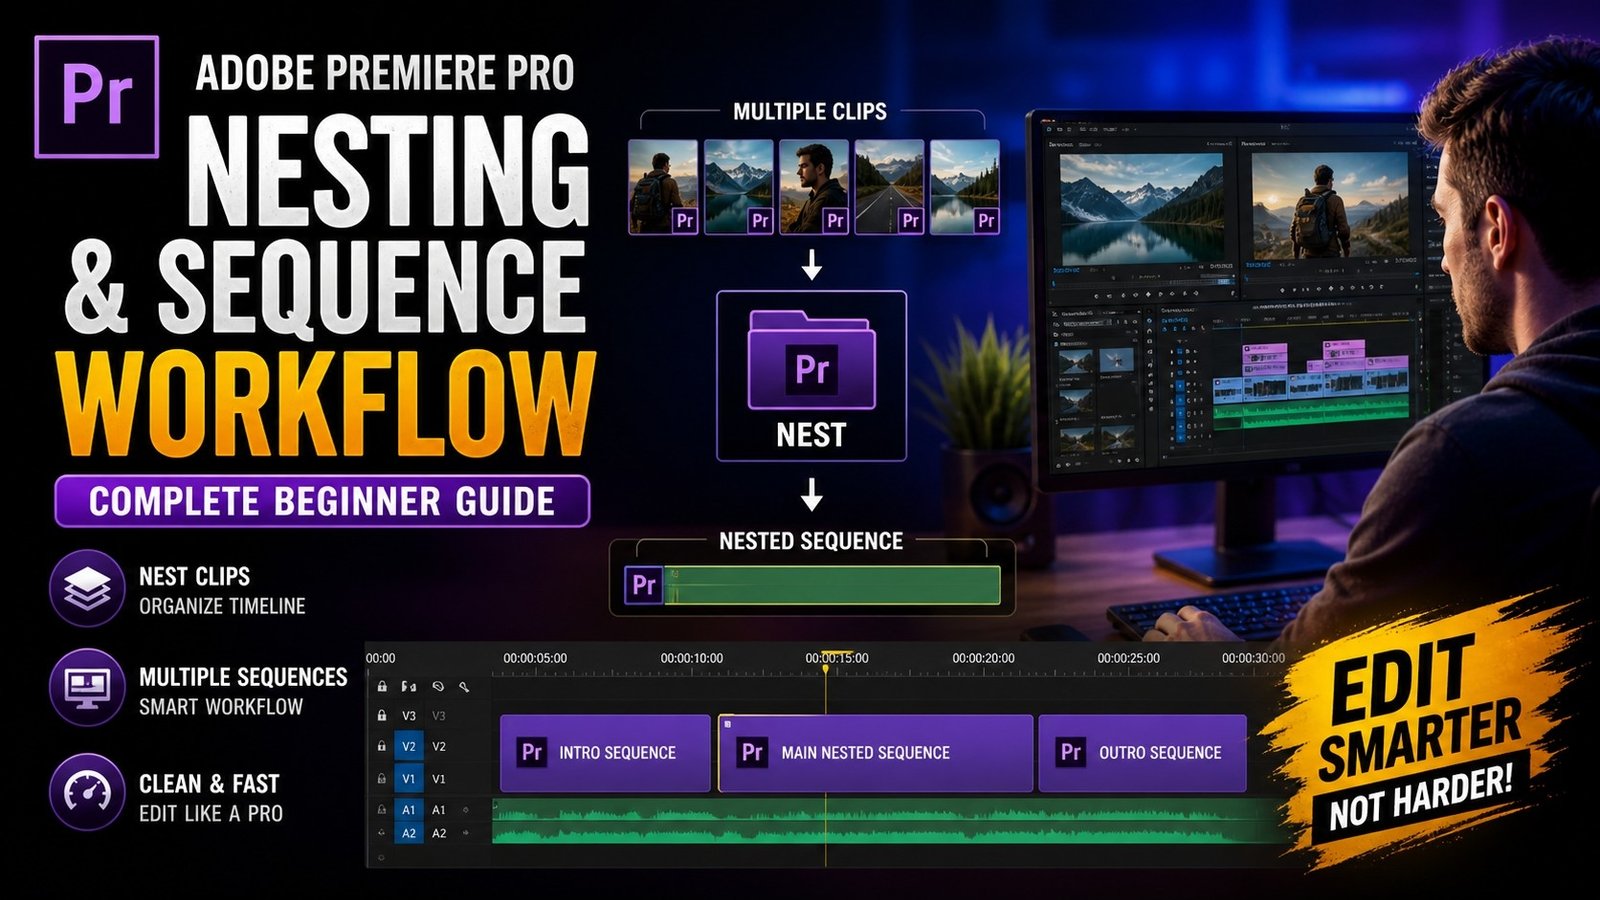
To start with nesting, you first need to select multiple clips in your timeline that you want to group together, then right-click and choose the Nest option. Premiere Pro will create a new sequence containing those clips, and in your main timeline, it will appear as a single clip. This nested sequence can be edited separately, and any changes you make inside it will automatically update in your main timeline. This is very useful when you have a group of clips that you want to treat as one unit, such as a montage or a section with multiple layers and effects.
🎬 Nesting Clips in Timeline
One of the biggest advantages of nesting is applying effects to multiple clips at once. Instead of adding effects individually to each clip, you can nest them and apply the effect to the nested sequence. This saves time and ensures consistency. For example, if you have multiple clips that need the same color grading, you can nest them and apply Lumetri Color to the nested sequence. This way, all clips inside the nest will have the same effect. You can also use nesting for adding transitions to multiple clips easily. Another important use of nesting is managing complex edits. If your timeline has many layers, such as video, text, graphics, and effects, it can become difficult to work with. Nesting allows you to group these layers into a single clip, reducing clutter and making your timeline easier to navigate.
🎨 Applying Effects to Nested Sequence
Another useful feature of nesting is creating reusable sequences. You can create a nested sequence for a specific section of your project and reuse it in other parts of your timeline. This is especially helpful for repeated elements like intros, outros, or lower thirds. Instead of recreating them every time, you can simply copy the nested sequence. This improves workflow speed and consistency. Nesting also helps when working with motion graphics and animations. If you have multiple animated elements, you can nest them and control their timing and effects as a single unit.
⚡ Complex Timeline Simplified
Sequence workflow is closely related to nesting and is important for organizing your project structure. In Premiere Pro, sequences act as containers for your edits, and you can create multiple sequences for different parts of your project. For example, you can have separate sequences for rough cuts, final edits, and different scenes. This helps you manage your project more effectively and avoid confusion. You can also use sequences for version control, allowing you to keep different versions of your edits without affecting the original. This is very useful when working on revisions or client feedback.
🎯 Multiple Sequences Workflow
Another important aspect of sequence workflow is using proper naming and organization. Naming your sequences clearly helps you identify them بسهولة and improves your workflow. You should also organize your project panel with folders for sequences, media, and assets. This keeps your project clean and easy to navigate. Beginners often ignore organization, which can lead to confusion later. By maintaining a structured workflow, you can save time and work more efficiently.
Using nesting and sequence workflow together can significantly improve your editing experience. It allows you to manage complex projects easily, apply effects efficiently, and maintain a clean timeline. Even if you are working on a small project, using these features can help you develop good editing habits. Practice using nesting in different scenarios, such as grouping clips, applying effects, and creating reusable sequences. Over time, you will become more comfortable with these tools and improve your editing speed. Premiere Pro provides all the necessary features to create an efficient workflow, and mastering nesting and sequences will help you edit videos more professionally and effectively.