
When most beginners first open Adobe After Effects, they usually get excited by cinematic edits, Hollywood-style effects, smooth object tracking, and videos where text perfectly follows moving objects. These effects look complicated at first, but once you understand the basic workflow, they become much easier to create. In this part of the beginner course, we are going to learn one of the most useful features in After Effects — masking and tracking. These tools are used everywhere, from YouTube edits and gaming montages to movies, reels, advertisements, and cinematic transitions.
Even simple masking and tracking can instantly make your videos look more professional and polished. Before learning tracking, it is important to understand masking because both tools often work together. A mask is basically a selected area on a layer. You can use masks to hide parts of a video, reveal certain areas, blur faces, create transitions, or isolate objects from the background. After Effects provides simple masking tools at the top toolbar such as the Rectangle Tool, Ellipse Tool, and Pen Tool. The Rectangle and Ellipse tools are good for simple shapes, while the Pen Tool gives full freedom to draw custom masks around any object.
Let’s say you want to blur a person’s face in a moving video. First, import your video into a composition and drag it into the timeline. Then duplicate the video layer because one layer will remain normal while the second layer will contain the blur effect. Apply Gaussian Blur to the duplicated layer and increase the blur amount. After that, select the Ellipse Mask Tool and draw a mask around the face. Now only the selected area becomes blurred. This already looks useful, but the problem is the face may move during the video. This is where tracking becomes important
🎬 Masking Basics in After Effects

When you create a mask, you will notice several options inside the timeline such as Mask Path, Mask Feather, Mask Expansion, and Mask Opacity. Beginners usually ignore these settings at first, but they are extremely important for making masks look smooth and natural. Mask Feather softens the edges of the mask. Without feathering, the mask edges look sharp and unrealistic. A small feather value usually gives much cleaner results. Mask Expansion allows you to increase or decrease the size of the mask area, while Mask Opacity controls visibility.
One thing beginners should understand early is that good masking is not about making everything complicated.
Even simple masks can look professional if they are clean and properly feathered. Many editors overdo effects and end up making videos look messy. Professional editing is usually clean and controlled. Now let’s talk about motion tracking. Motion tracking is one of the most exciting tools in After Effects because it allows text, effects, or graphics to follow movement automatically. Instead of manually adjusting positions frame by frame, After Effects analyzes movement and follows it for you.
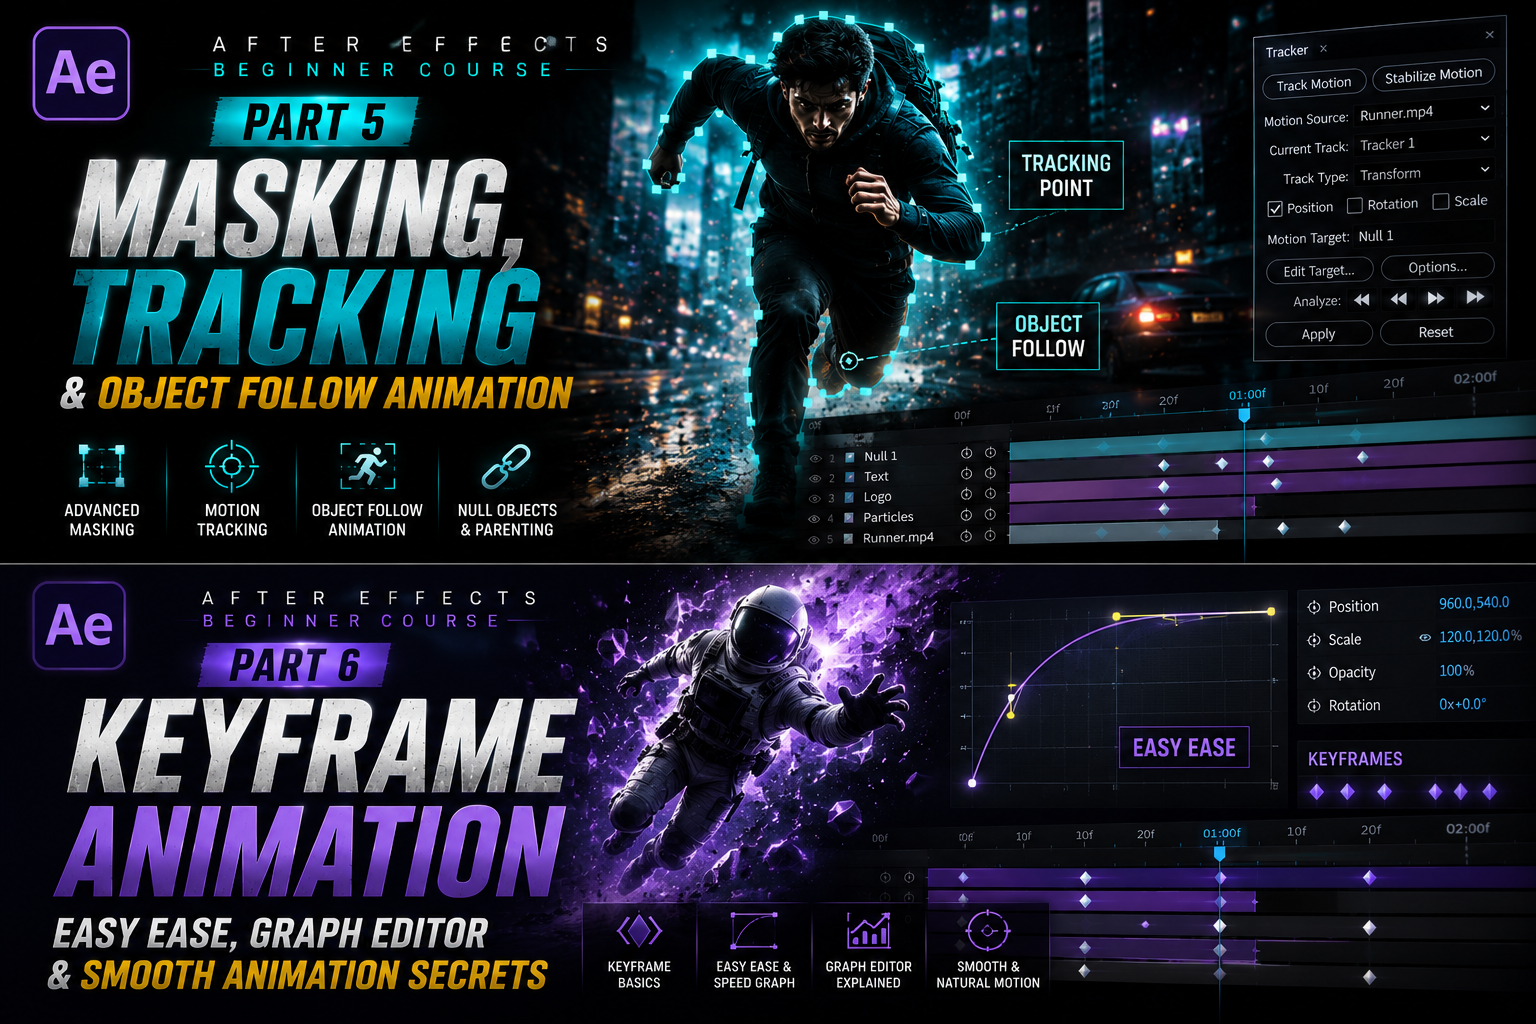
This saves a huge amount of time and creates smoother results. For example, imagine a running person in a video. If you want text to follow the runner, motion tracking can do that easily. Open the Tracker Panel from the Window menu if it is not visible. Select the video layer and click “Track Motion.” You will see a tracking point appear on the screen. Place this tracking point on an area with clear contrast and consistent movement, such as a logo, eye, shirt pattern, or object edge. Strong contrast helps After Effects track movement more accurately.
⚡ Motion Tracking Workflow

Once the tracking point is placed correctly, click Analyze Forward. After Effects will begin analyzing the footage frame by frame. If the tracking point drifts away from the object, you may need to stop and adjust it manually. This is normal, especially for beginners. Tracking quality depends heavily on footage quality, lighting, and movement speed.
After tracking is complete, create a Null Object from the Layer menu. A Null Object is basically an invisible helper layer. Apply the tracking data to the Null Object instead of directly to text or graphics. Then parent your text layer to the Null Object using the pick whip tool. Now the text automatically follows the movement perfectly. This workflow is used constantly in professional editing because it keeps projects organized and flexible.
One of the most common beginner mistakes is using shaky or low-quality footage for tracking practice. Tracking works much better on footage with stable lighting and visible contrast. Start with simple clips first before moving to difficult cinematic scenes. Once you understand the basics, you can experiment with faster movement and more advanced tracking setups.
Tracking is not only useful for text. You can also attach logos, graphics, particles, glow effects, or icons to moving objects. Many gaming edits use tracking to attach effects to players or weapons. Travel videos use tracking to attach location text to buildings or moving shots. Even simple cinematic edits become more dynamic when text or graphics follow movement naturally.
🎨 Object Follow Animation

Another important feature related to masking is the Rotobrush Tool. Rotobrush helps separate subjects from the background without using a green screen. This tool became very popular because many creators want cinematic background removal effects without complicated setups. Select the Rotobrush Tool and paint over the subject you want to isolate. After Effects tries to automatically separate the object from the background. Sometimes small corrections are needed, but overall the tool saves a lot of time compared to manual masking.
Rotoscoping is commonly used in music videos, cinematic reels, sports edits, and visual effects work. Even though beginners may find it slightly difficult at first, practicing simple scenes regularly improves results quickly.
Patience is very important because detailed masking and rotoscoping take time even for professionals. Another creative use of masks is reveal transitions. For example, if an object passes across the screen, you can use a mask to reveal the next clip underneath it. This creates smooth cinematic transitions that are very popular on YouTube and Instagram. Combining masks with motion blur and keyframes creates even better results. Small details like timing and smooth movement make transitions feel professional.
🔥 Cinematic Masking & Tracking Tips

Project organization becomes more important as your edits become advanced. Tracking projects can quickly become confusing because of multiple layers, null objects, masks, and effects. Naming layers properly and using color labels helps maintain a clean workflow. Professional editors depend heavily on organization because large projects become difficult to manage otherwise.
Performance is another thing beginners should pay attention to. Tracking and masking use a lot of system resources, especially on low-end PCs. Reducing preview quality to Half or Quarter resolution helps playback become smoother. Clearing cache regularly and closing unnecessary programs also improves performance during editing sessions.
The most important thing to remember is that masking and tracking are skills that improve with practice. Nobody becomes perfect immediately. Even professional editors spend time adjusting masks and fixing tracking points. Start with simple projects, experiment with different footage, and slowly increase difficulty over time. Consistent practice is far more important than trying complicated effects too early.
Masking, tracking, and object-follow animation are some of the most valuable skills inside Adobe After Effects because they open the door to cinematic editing and professional visual effects.
Whether you create YouTube tutorials, gaming edits, travel videos, reels, short films, or advertisements, these tools help your content stand out visually. Once you understand masks, feathering, tracking points, null objects, parenting, and motion workflows, you will start seeing creative possibilities everywhere. With patience, practice, and clean editing habits, beginners can gradually turn simple footage into professional cinematic content that looks polished and engaging on every platform.