
Adobe After Effects becomes much more exciting when you start working with 3D layers and camera animation because this is the stage where edits begin to look truly cinematic and professional. In the previous parts of this beginner course, we learned about compositions, keyframes, text animation, masking, motion tracking, and object follow animation. Those tools are extremely important, but camera movement and 3D depth are what give motion graphics a realistic and immersive feeling. Almost every cinematic intro, trailer, logo reveal, YouTube opener, gaming montage, and promotional video uses some form of camera movement and depth animation. Even simple text can look dramatic when combined with proper 3D motion and cinematic camera angles.
Many beginners think After Effects works exactly like Premiere Pro, but After Effects has a much stronger animation system. One of its biggest features is the ability to create 3D layers. Normally, layers inside a composition are flat 2D elements, but once you enable the 3D switch, those layers gain depth and can move in 3D space. This means layers can move forward, backward, rotate in different directions, and interact with cameras realistically.
To begin using 3D layers, create a composition and add some text or images into the timeline. Inside the layer switches area, you will see a small cube icon. Clicking this icon enables 3D mode for that layer. Once enabled, the layer gets additional controls such as X, Y, and Z Position along with Orientation and X, Y, Z Rotation. Beginners usually understand X and Y movement quickly because those control left-right and up-down movement. The Z axis controls depth, meaning how close or far an object appears to the camera.
🎬 Understanding 3D Layers

Once you understand 3D layers, the next important step is creating a camera. Without a camera, 3D layers still work, but you cannot fully experience cinematic movement and depth. To create a camera, go to Layer, New, and select Camera. After Effects will ask for camera settings such as focal length and preset type.
Beginners can safely start with the default 35mm preset because it provides a balanced cinematic look. After creating the camera, you can move it around the scene just like a real camera. This is where things become interesting because now your animations can feel like actual cinematic shots instead of simple flat motion graphics. For example, if you place text at different Z positions and move the camera forward, the scene instantly gains depth. Some text may appear close while others remain far away, creating a professional cinematic effect commonly used in trailers and intros.
One of the most popular beginner camera effects is the parallax effect. This happens when foreground objects move faster than background objects during camera movement. Parallax instantly makes scenes feel more realistic and dynamic. Many YouTube intros and cinematic edits use this technique because even simple layers start looking high quality with proper depth movement.
⚡ Camera Movement & Parallax Effect

Camera animation works using the same keyframe system we learned earlier in the course. You can animate Position, Point of Interest, Rotation, and Zoom to create cinematic movement. Beginners should start with slow and smooth camera movement because fast camera motion can look messy and difficult to control. Small cinematic movement often looks much more professional than extreme movement.
Easy Ease becomes very important here because camera movement without easing usually looks robotic. Applying Easy Ease smooths acceleration and deceleration, making motion feel more natural. Professional editors almost always use easing for cinematic movement because it creates smooth and realistic motion.
Another useful feature in 3D animation is depth of field. Real cameras naturally blur objects that are too close or too far away from the focus point. After Effects can simulate this effect using camera settings. Enabling depth of field instantly gives scenes a cinematic film-like appearance. However, beginners should use it carefully because too much blur can make text difficult to read. Small blur amounts usually work best.
Lighting also becomes important once you start working in 3D space. After Effects allows users to create different types of lights such as Point Lights, Spot Lights, Parallel Lights, and Ambient Lights. These lights interact with 3D layers and create shadows, highlights, and realistic depth. Even basic lighting can dramatically improve the quality of animations. Cinematic intros often use dark scenes with strong colored lighting because it creates atmosphere and visual impact.
🎨 Cinematic Depth & Lighting

Another thing beginners should practice is combining camera movement with text animation. For example, text can slowly move in 3D space while the camera rotates around it. This technique is commonly used in movie intros, motivational edits, and logo reveals. Adding motion blur to these animations makes them feel smoother and more realistic. Without motion blur, camera movement can sometimes feel stiff or unnatural.
A common beginner mistake is adding too many 3D elements immediately. Complex scenes with excessive layers, lights, and effects can quickly become confusing and difficult to manage. It is much better to start with simple setups first. Even two or three 3D layers with smooth camera movement can look very professional if done correctly.
Performance is another important topic because 3D layers and camera effects require more system power than basic animations. Low-end PCs may struggle with heavy 3D scenes. Beginners can improve performance by lowering preview resolution, using proxy files, and disabling motion blur temporarily during editing. Professional editors also optimize projects carefully to maintain smooth workflow.
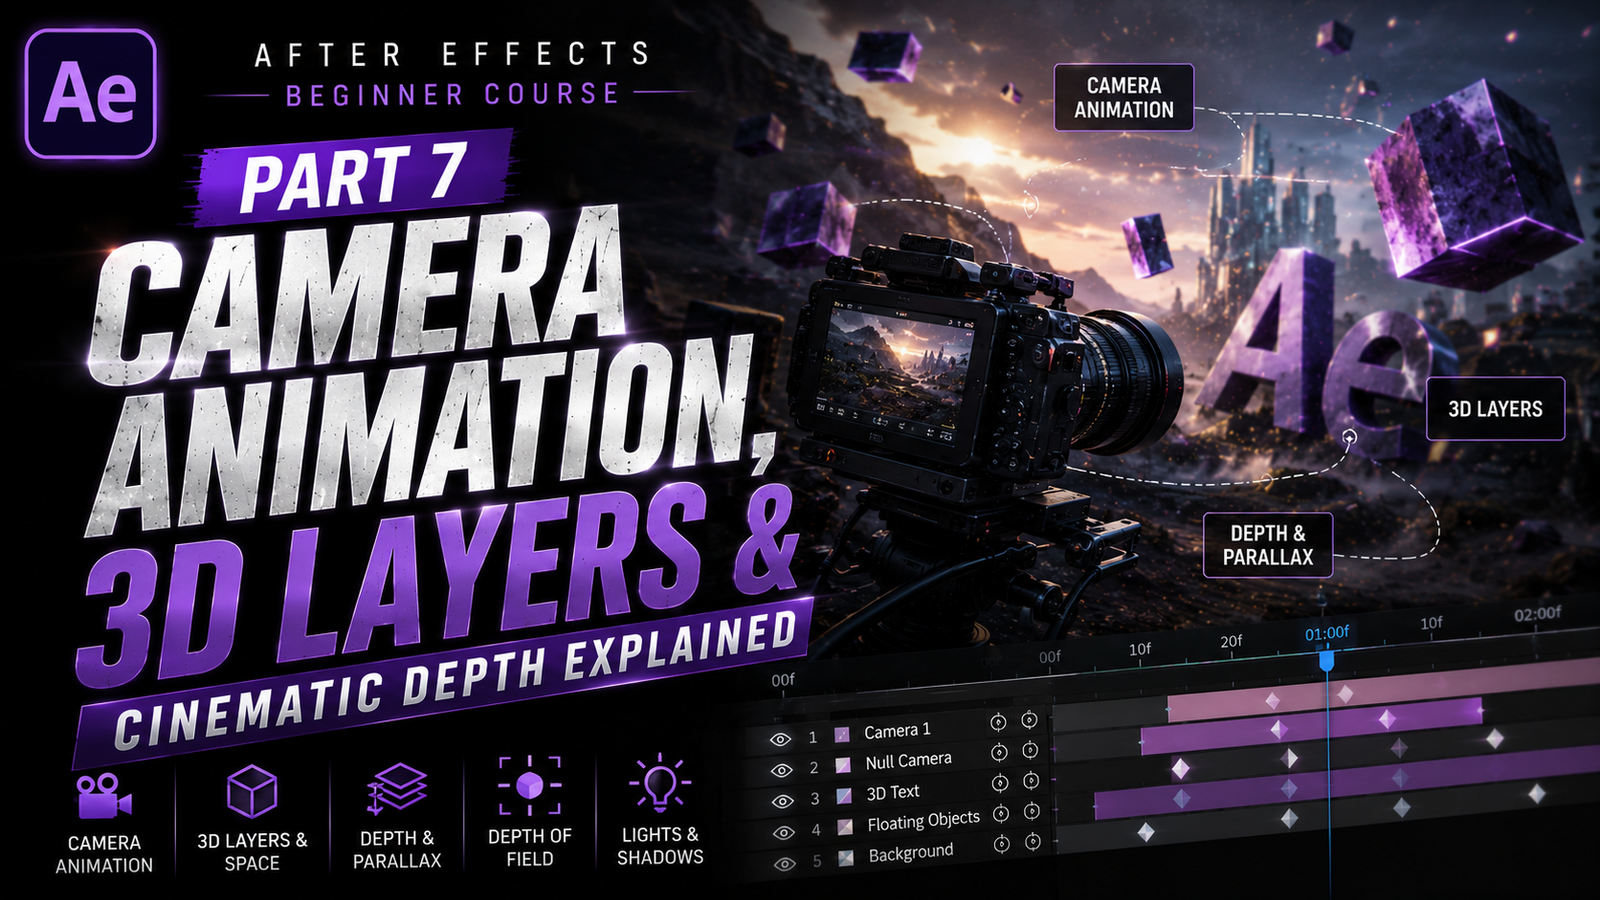
Project organization becomes even more important in 3D projects. Naming cameras, lights, and layers properly helps avoid confusion later. Many editors also use Null Objects to control camera movement more smoothly. Parenting cameras to Null Objects creates cleaner and more controllable animations, especially for cinematic scenes.
🔥 Professional Camera Animation Workflow

One of the best ways to improve camera animation skills is by studying movie trailers and cinematic intros. Notice how professional editors use slow movement, depth, focus changes, and lighting to guide attention. Good camera animation is not about random movement. Every movement should feel intentional and smooth.
3D layers and camera animation are some of the most powerful tools inside Adobe After Effects because they transform flat graphics into immersive cinematic scenes.
These features are used everywhere in modern editing including YouTube intros, advertisements, gaming edits, lyric videos, documentaries, and professional motion graphics. Once beginners understand cameras, depth, parallax, lighting, and 3D movement, their edits begin to feel far more polished and cinematic. Consistent practice with simple projects, smooth camera movement, and proper depth control will gradually help beginners master professional 3D animation workflows and create visually impressive content for every platform.