
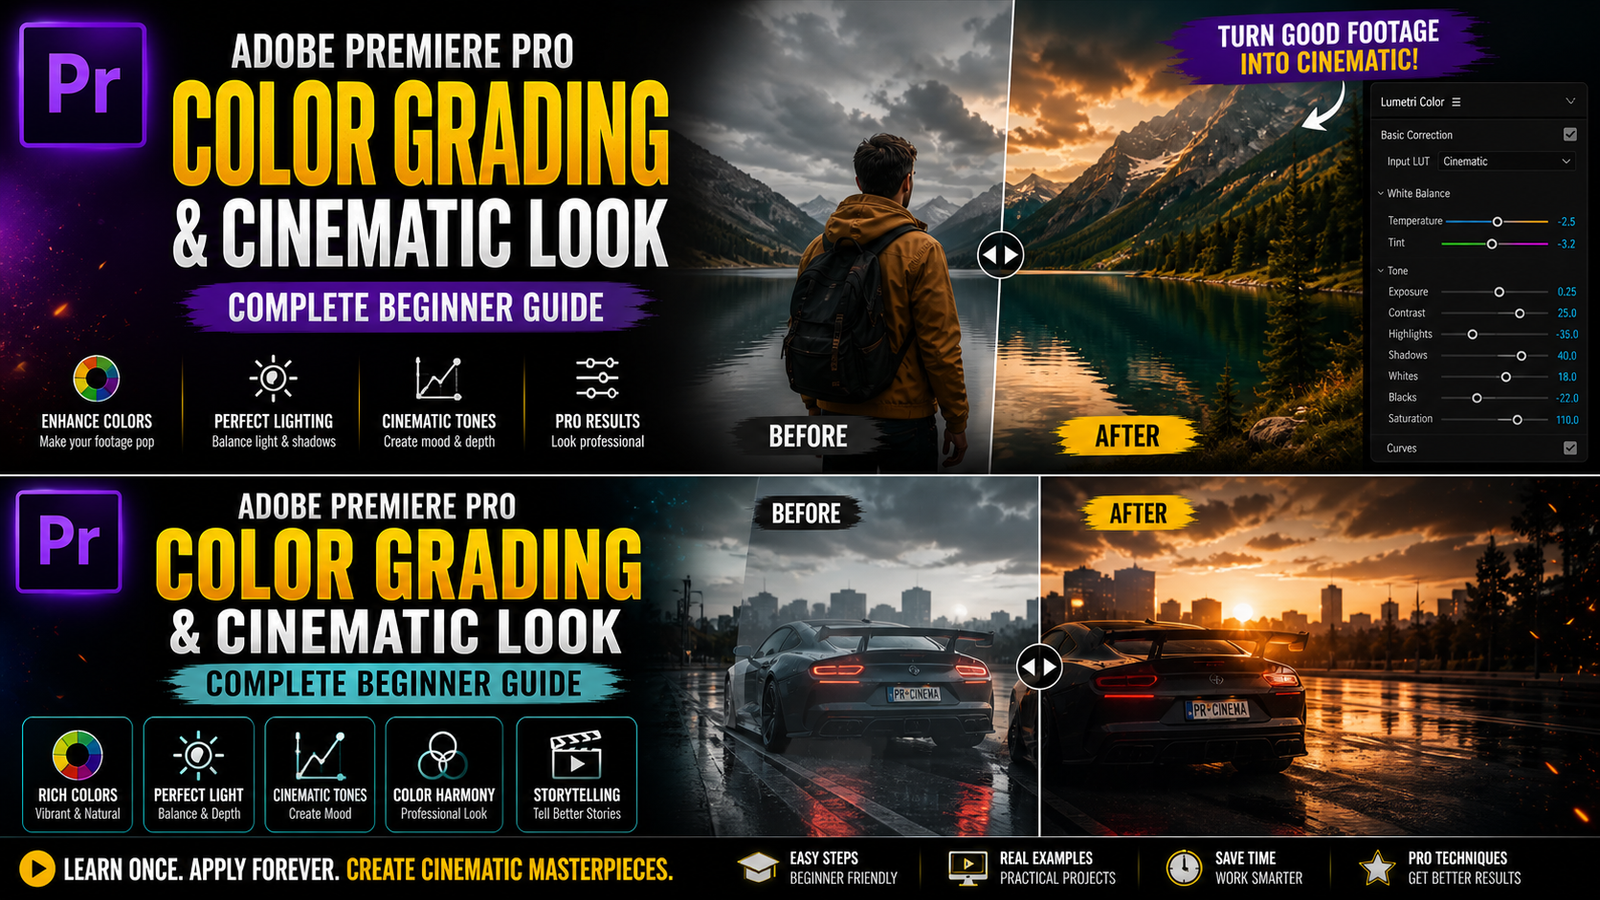
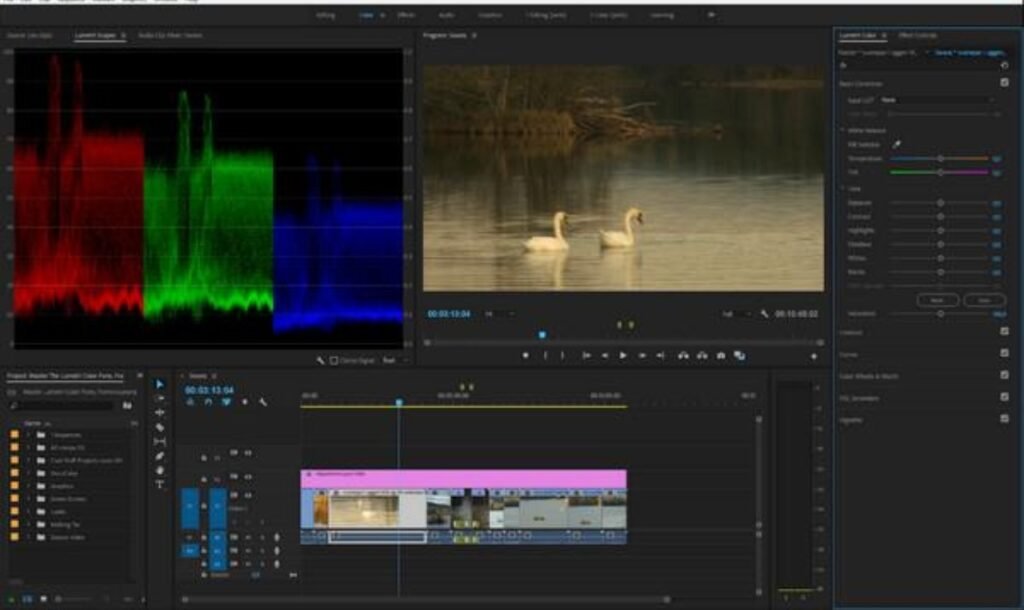
Color grading and creating a cinematic look are some of the most important skills in Adobe Premiere Pro that can completely change the feel and quality of your video, even if your original footage is simple. Many beginners think cinematic videos require expensive cameras, but in reality, proper color grading can make a big difference even with normal footage. In Premiere Pro, color grading is mainly done using the Lumetri Color panel, which gives you full control over colors, brightness, contrast, and overall tone of your video. The first step is basic color correction, where you fix exposure, white balance, and contrast. Exposure controls the brightness of your video, so if your clip looks dark, you can increase exposure, and if it looks too bright, you can reduce it.
White balance is used to correct color temperature, making your video look natural instead of too warm or too cool. Contrast helps in separating dark and bright areas, giving your video depth. After basic correction, the next step is color grading, where you add style and mood to your video. You can adjust highlights, shadows, whites, and blacks to control different parts of the image. For example, lowering shadows makes the video more dramatic, while increasing highlights makes it brighter and sharper. Saturation is another important setting that controls how strong the colors appear. Increasing saturation makes colors more vibrant, while reducing it gives a faded look. Beginners should be careful not to overuse saturation, as it can make the video look unnatural.
🎨 Lumetri Color Panel
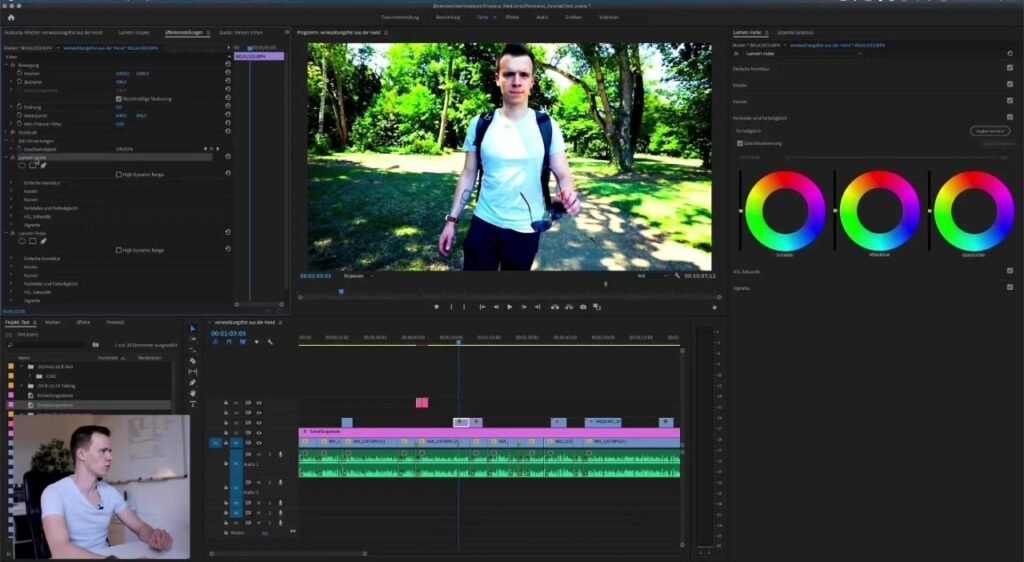
Continuing with color grading, one of the most powerful tools in Lumetri Color is the Color Wheels and Match section. Here, you can control shadows, midtones, and highlights separately by adjusting color tones. For a cinematic look, many editors add a slight teal color to shadows and a warm orange tone to highlights, which creates a popular cinematic color style. This technique is widely used in movies and gives a professional feel to your video. Another useful feature is Curves, which allows you to fine-tune brightness and color channels more precisely. You can create an S-curve to increase contrast and make your footage look more dynamic. Hue vs Saturation and Hue vs Hue curves help you adjust specific colors without affecting the whole image. For example, you can increase the saturation of blue sky or change the color of a specific object.
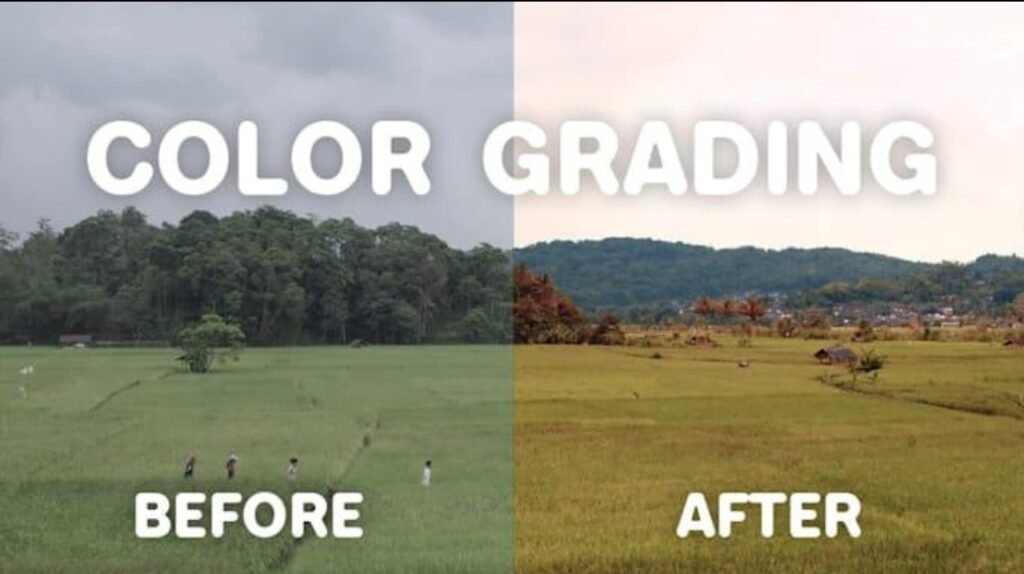
🎬 Before & After Color Grading
Another important part of creating a cinematic look is using LUTs, which are preset color profiles that can be applied quickly. Premiere Pro allows you to import LUTs in the Creative section of Lumetri Color. Applying a LUT instantly changes the look of your video, but it is important to adjust intensity to match your footage properly. Beginners should use LUTs as a starting point and then make manual adjustments for better results. In addition to color grading, you can enhance the cinematic feel by adjusting vignette settings, which darken the edges of your video and draw focus to the center. Subtle vignette effects can make your video look more professional and visually appealing. Another tip is to maintain consistency in color grading across all clips so that your video looks smooth and uniform. If each clip has different colors, it can feel distracting to viewers. You can copy color settings from one clip and paste them onto others to maintain consistency.
⚡ Cinematic Look Settings
Finally, remember that color grading is not just about making your video colorful, but about telling a story through visuals. Different color tones can create different moods, such as warm tones for happy scenes or cool tones for serious scenes. Beginners should focus on simple adjustments first and gradually learn advanced techniques. Practice with different clips and try different styles to understand how color grading works. Even if your system is not very powerful, you can still learn these techniques using lower resolution settings. With regular practice, you will be able to create professional-looking videos easily. Mastering color grading and cinematic style will take your editing skills to the next level and make your videos stand out. In the next articles, you can learn about advanced motion graphics and professional editing workflows to improve even further.