
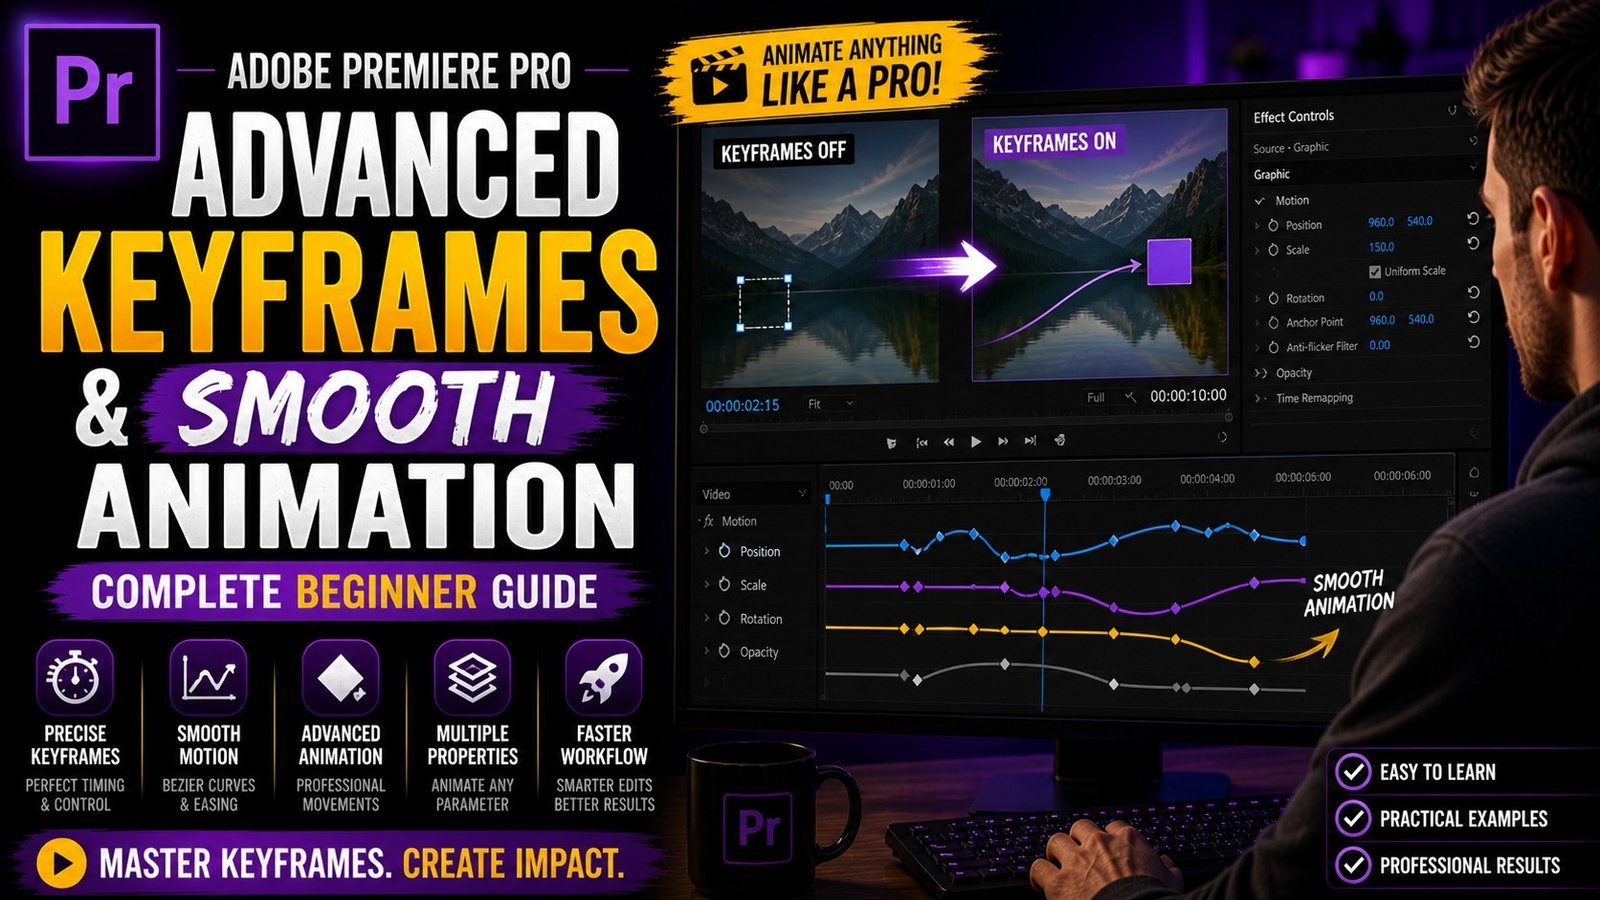
Keyframes and animation in Adobe Premiere Pro are essential tools that allow you to create smooth motion effects and bring life to your videos, making your edits look more professional and engaging even if you are just starting out. Many beginners use basic cuts and transitions, but learning how to use keyframes properly can completely transform your editing style. A keyframe is simply a point in time where you set a value for a property like position, scale, rotation, or opacity, and Premiere Pro automatically creates a transition between those points, resulting in animation. To start using keyframes, import your clip into the timeline and select it, then go to the Effect Controls panel. Here you will see options like Position, Scale, Rotation, and Opacity, each with a small stopwatch icon. Clicking on this icon enables keyframes for that property.
Once enabled, you can move the playhead to a specific point in the timeline and change the value, which creates a keyframe automatically. For example, if you want to create a zoom effect, you can set the scale at 100% at the beginning and increase it to 120% after a few seconds. Premiere Pro will animate the zoom between these two points. This is one of the simplest and most commonly used animations. Similarly, you can use position keyframes to move objects across the screen, such as sliding text from left to right or creating pan effects in your video. Rotation can be used for creative spins or transitions, while opacity can be used for fade in and fade out effects.
🎬 Keyframe Basics in Effect Controls

While basic keyframes are useful, smooth animation is what makes your edits look professional. By default, keyframe animations are linear, which means the motion starts and stops at a constant speed, often making it look unnatural. To fix this, Premiere Pro allows you to apply easing to your keyframes. You can right-click on a keyframe and choose options like Ease In or Ease Out. Ease In makes the animation start slowly and then speed up, while Ease Out makes it start fast and then slow down towards the end. This creates a more natural and cinematic motion. You can also adjust the speed graph using the graph editor to fine-tune your animation even further. Beginners may find this advanced at first, but practicing easing can significantly improve your video quality.
⚡ Smooth Animation with Ease In & Ease Out
multiple properties to create complex animations. For example, you can combine position and scale to create a zoom-and-move effect, or combine opacity and position to create smooth text reveals. These combinations help you create more dynamic and engaging visuals. Keyframes are also widely used in text animation. You can animate titles by making them slide, fade, or zoom into the screen. Instead of using preset animations, creating your own keyframe animations gives you more control and uniqueness. This is especially useful for YouTube videos and social media content where custom animations can make your videos stand out.
🎨 Text Animation Using Keyframes
Keyframes can also be used for effects and color changes. For example, you can gradually increase brightness or change colors over time to create cinematic transitions. You can also animate blur effects to focus on specific parts of your video. This adds depth and storytelling to your content. Another useful technique is masking with keyframes, where you can animate a mask to follow a subject or reveal parts of your video. Combining masking with keyframes opens up many creative possibilities
🎯 Advanced Animation Example
Practice is the key to mastering keyframes and animation. Start with simple animations like zoom and fade, then gradually move to more complex effects. Even if your system is basic, you can still learn keyframes easily because they do not require heavy performance. Keep your animations smooth and avoid overusing effects, as too much animation can make your video look distracting. Focus on clarity, timing, and smooth transitions to achieve a professional look. Over time, you will develop your own animation style and improve your editing skills. Premiere Pro provides all the tools needed to create high-quality animations, and mastering keyframes is one of the most important steps in becoming a professional video editor