
Adobe After Effects is one of the best software applications for creating professional animations, cinematic motion graphics, YouTube intros, logo reveals, visual effects, and social media content. In Part 1 beginners usually learn the interface and basic settings, while Part 2 focuses on compositions, layers, and timeline workflow. Now in Part 3, the most important topic is animation using keyframes because keyframes are the foundation of every motion graphic and visual effect created inside After Effects. Without understanding keyframes properly, creating smooth and professional animations becomes extremely difficult. Keyframes are special markers that tell After Effects how an object should move, scale, rotate, fade, or change over time. Every professional animation in After Effects is built using keyframes, whether it is text animation, logo motion, cinematic transitions, or visual effects. Once beginners understand keyframes and animation principles, they can create high-quality motion graphics and cinematic edits for YouTube, Instagram, reels, gaming videos, and commercial projects.
🎬 Understanding Keyframes

The first step in animation is selecting a layer and opening its transform properties. Every layer in After Effects contains important animation controls such as Position, Scale, Rotation, Opacity, and Anchor Point. Position controls movement, Scale changes size, Rotation spins the object, Opacity controls visibility, and Anchor Point changes the center point used for transformations. To animate any property, click the stopwatch icon beside the property name. This creates the first keyframe at the current timeline position. Then move the playhead forward and change the value of that property. After Effects automatically creates another keyframe and generates movement between both points. For example, if you want text to slide from left to right, create the first Position keyframe on the left side and the second Position keyframe on the right side. After Effects smoothly animates the movement between them automatically.
⚡ Position, Scale & Rotation Animation

One of the biggest mistakes beginners make is using linear animation without smoothing. By default, animations can look robotic because movement starts and stops too sharply. This is where Easy Ease becomes extremely important. Easy Ease is a feature that smooths animation movement and makes it look natural and cinematic. To apply Easy Ease, select keyframes, right-click, go to Keyframe Assistant, and choose Easy Ease. You can also use the shortcut F9. After applying Easy Ease, the movement becomes softer and more professional because the object slowly accelerates and decelerates instead of moving at constant speed. Professional motion graphics artists use Easy Ease in almost every animation because it improves visual quality dramatically.
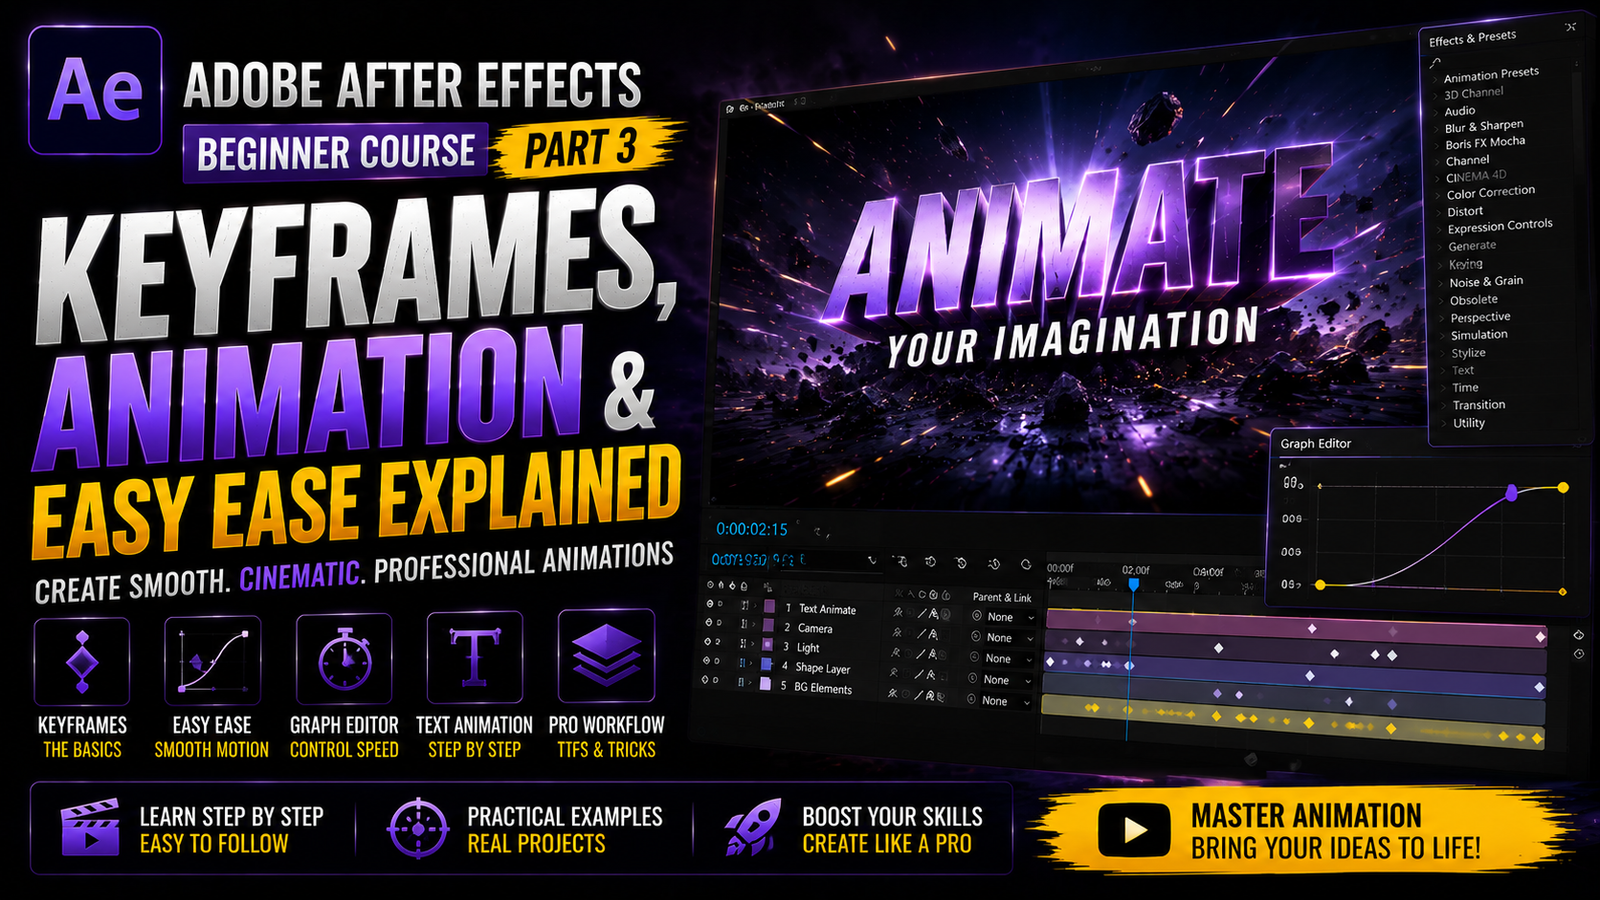
Another powerful feature in After Effects is the Graph Editor. The Graph Editor gives detailed control over animation speed and motion curves. Beginners often avoid this panel at first because it looks advanced, but understanding basic graph editing can greatly improve animation quality. Using the Graph Editor, you can create smooth cinematic movement, bounce effects, fast zoom transitions, and dynamic text animations. The speed graph controls how fast objects move during animation, while the value graph controls how values change over time. Even simple graph adjustments can make animations look much more professional.
🎨 Easy Ease & Graph Editor

Text animation is one of the most popular uses of keyframes in After Effects. You can animate text using Position, Scale, Rotation, and Opacity to create cinematic intros and title sequences. Simple fade-ins and slide animations are perfect for beginners, while advanced editors combine multiple properties together for more dynamic results. For example, combining Scale and Opacity animations can create smooth cinematic title reveals. Motion blur is also extremely important because it adds realistic blur during movement and makes animations feel natural. Without motion blur, animations may look stiff or unrealistic. You can enable motion blur directly inside the timeline panel and activate it for specific layers.
Another useful beginner technique is using animation presets. After Effects includes many built-in presets such as zooms, slides, typewriter effects, and bounce animations. These presets help beginners create professional animations quickly while learning how keyframes work. However, it is still important to practice manual keyframing because it improves creativity and gives better control over animations
🔥 Professional Motion Workflow

Timing is another critical part of animation. Good timing makes animations feel smooth and engaging, while poor timing makes them feel awkward or too fast. Beginners should regularly preview their animations using the Preview Panel to check smoothness and rhythm. Syncing animations with music beats also improves overall video quality because visuals feel more connected with audio. Many professional editors use music beats to control animation timing for intros, reels, and cinematic edits.
Learning shortcuts can also improve workflow speed significantly. Pressing P opens Position, S opens Scale, R opens Rotation, T opens Opacity, and U shows all animated properties with keyframes. These shortcuts save time and make animation workflow faster. Beginners should practice using shortcuts daily because professional editors depend heavily on them for efficient editing.
Finally, organization is very important when working with animations. Label layers properly, create folders inside the Project Panel, and keep compositions organized to avoid confusion during editing. Clean project organization improves workflow speed and helps manage large projects easily. Keyframes, animation, and Easy Ease are the heart of Adobe After Effects because every professional motion graphic depends on them. Once beginners fully understand how keyframes and easing work, they can create smooth cinematic animations, professional title sequences, logo reveals, social media edits, and visual effects with confidence. Consistent practice and experimentation with animation timing, motion blur, graph editing, and keyframes will gradually help beginners become professional motion graphics editors capable of creating high-quality cinematic content for every platform.